Corona Heights Balloon Launch (July 2010)
You are here:
Andrew Ho >
Balloon Photography >
2010 Corona Heights Launch
Our second balloon launch was in the evening at beautiful
Corona Heights Park,
just north of the Castro district in San Francisco. This was a much
shorter but crazier launch—the wind was incredibly strong, better
kite weather than balloon weather.
|
|
|
|
|
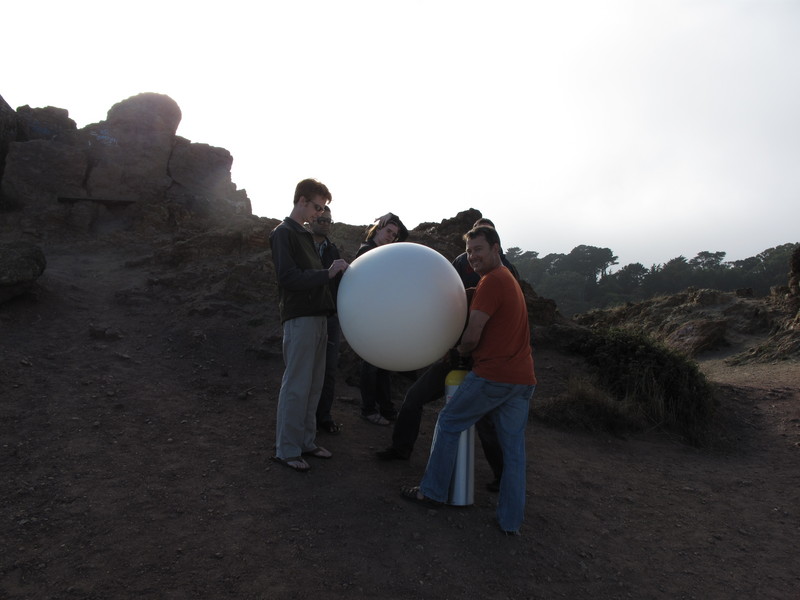
| Inflating the balloon at Corona Heights Park. The sun was starting to come down and the fog was starting to drift in. |
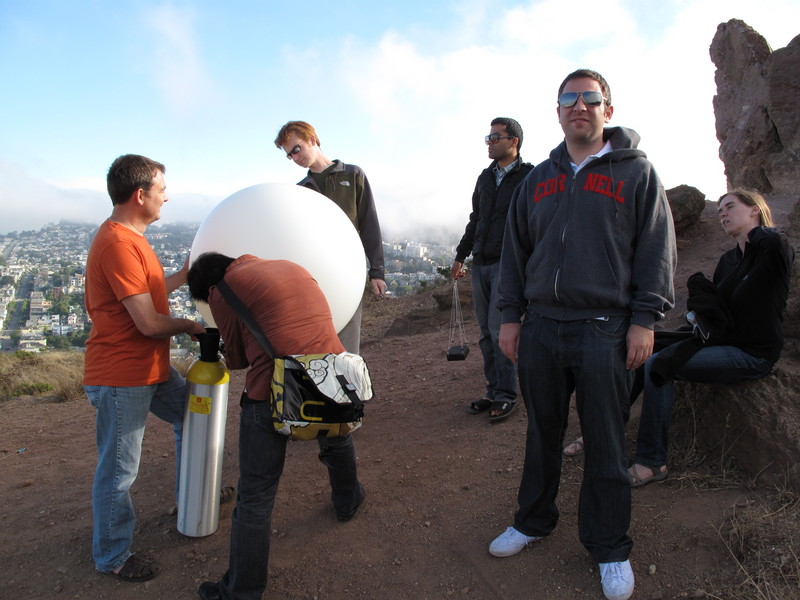
A bit sunnier in this direction, but you can still see the fog starting to come in. |
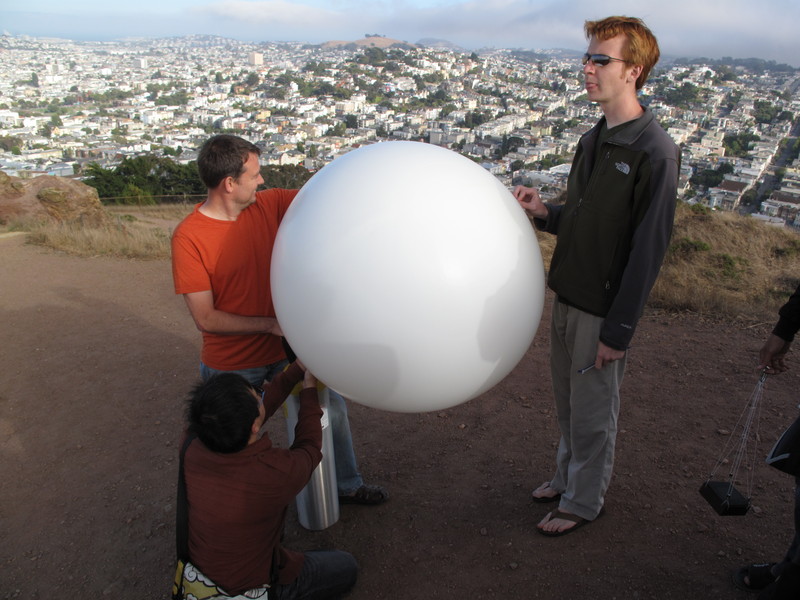
Mark tweaks the balloon's nipple. |
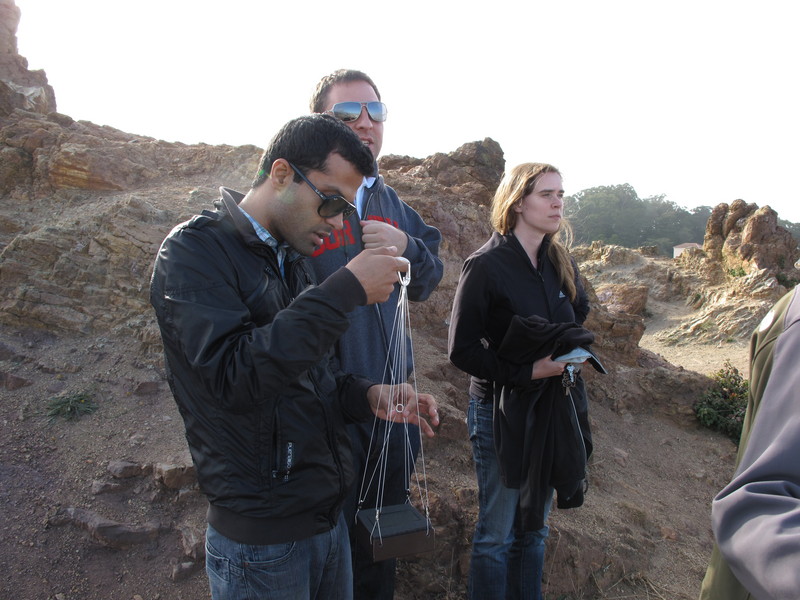
Hoshi adjusts the picavet. |
|
|
|
|
|
| The first photo taken by the balloon camera at Corona Heights: the cord reel. |
A good shot of how the picavet attaches to the balloon: one attachment point is the balloon, the other is an alpine butterfly knot about a foot and a half down the line. |
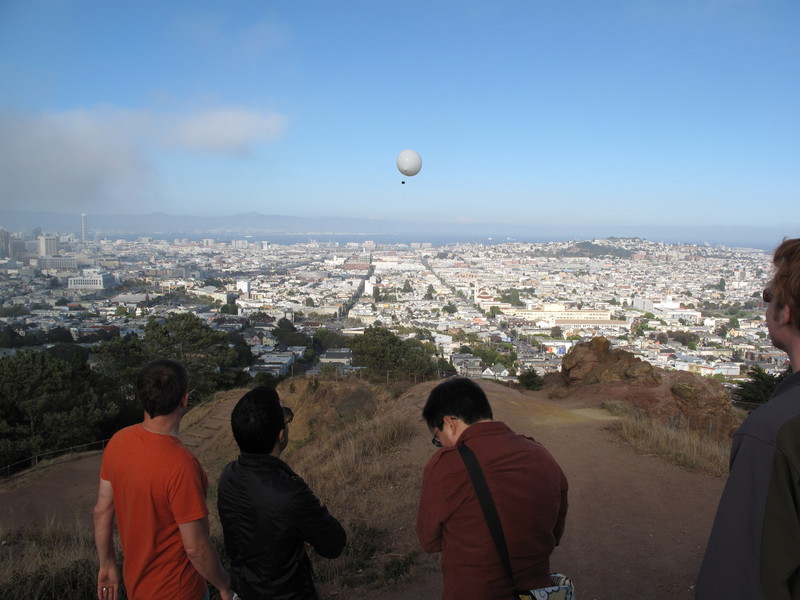
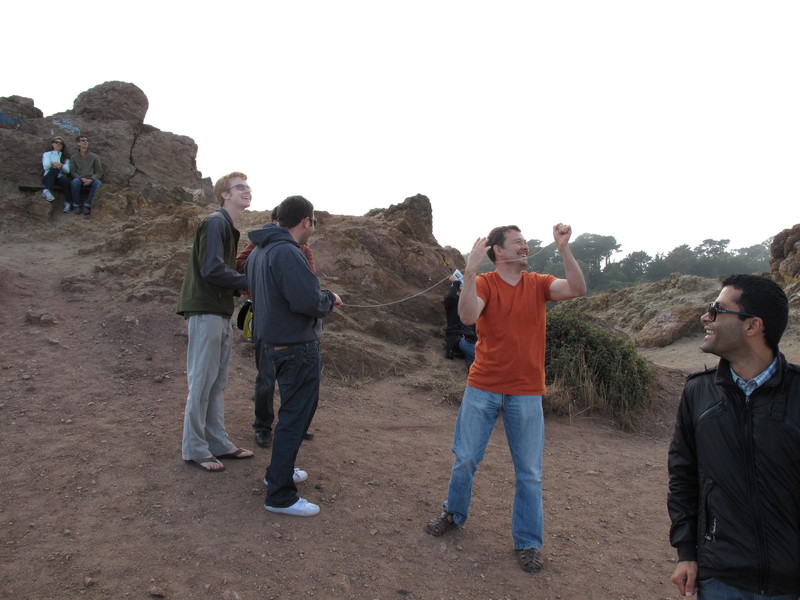
Up, up, and away! The wind was crazy, so the launch was chaotic as the balloon bobbed to and fro. |
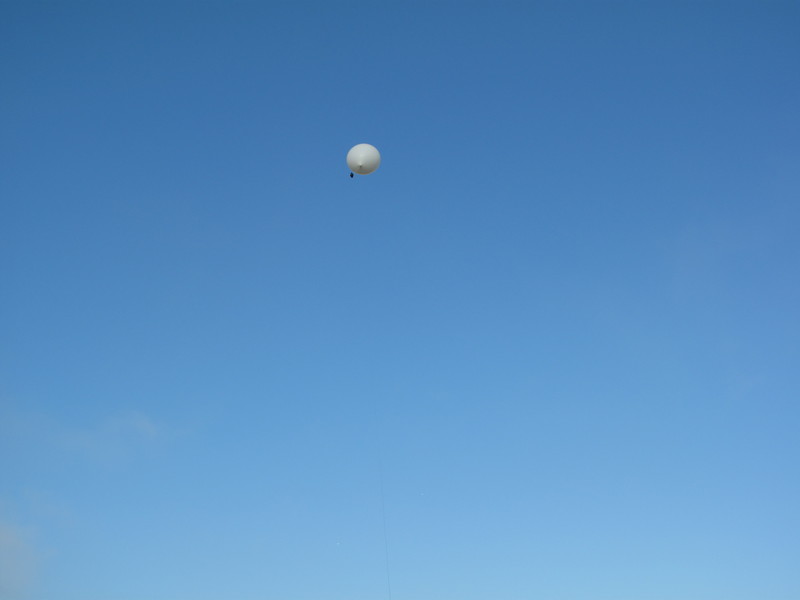
The balloon, bobbing crazily in the wind. |
|
|
|
|
|
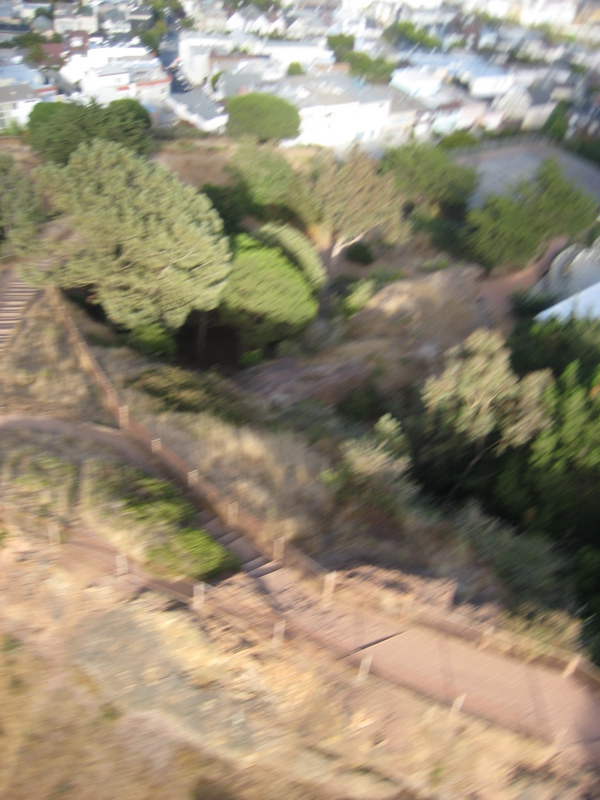
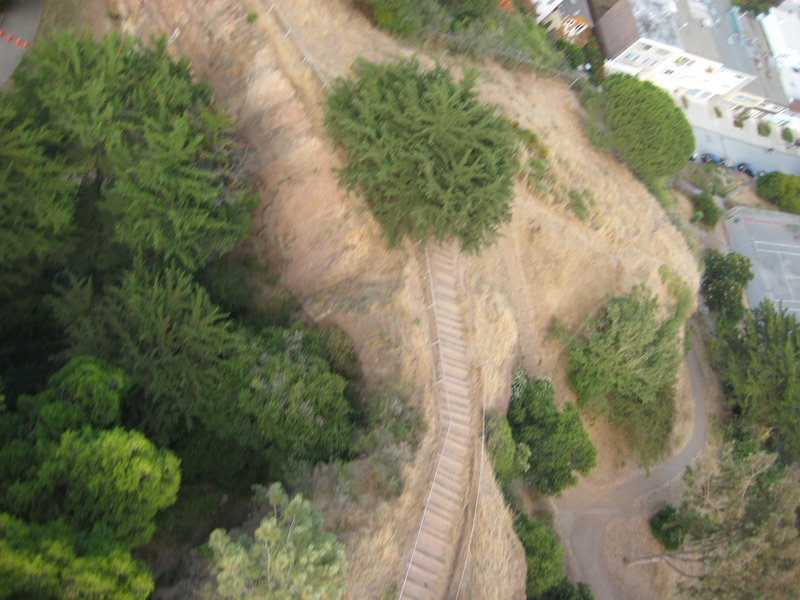
| Blurry shot of the steps leading up to the Corona Heights Park peak. |
Surrounding houses. |
An invitingly green tree, which probably eats kites (and balloons). |
More foilage. |
|
|
|
|
|
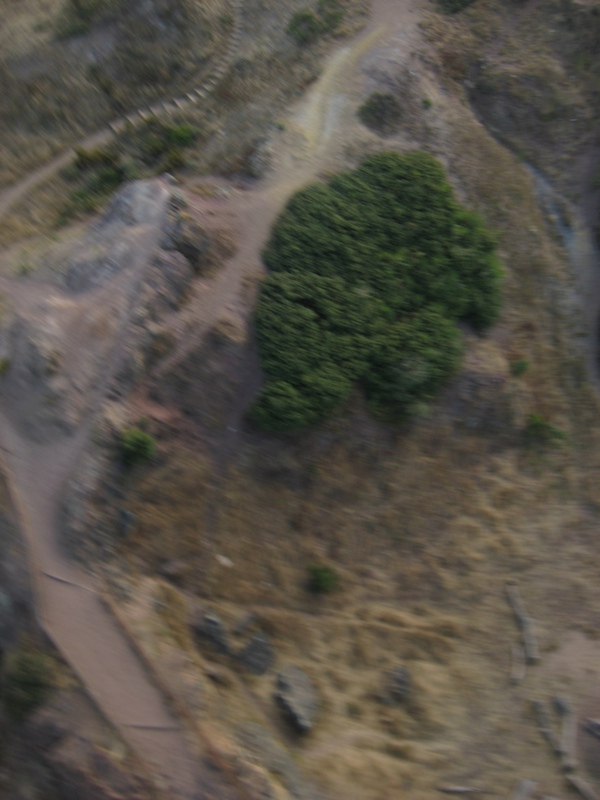
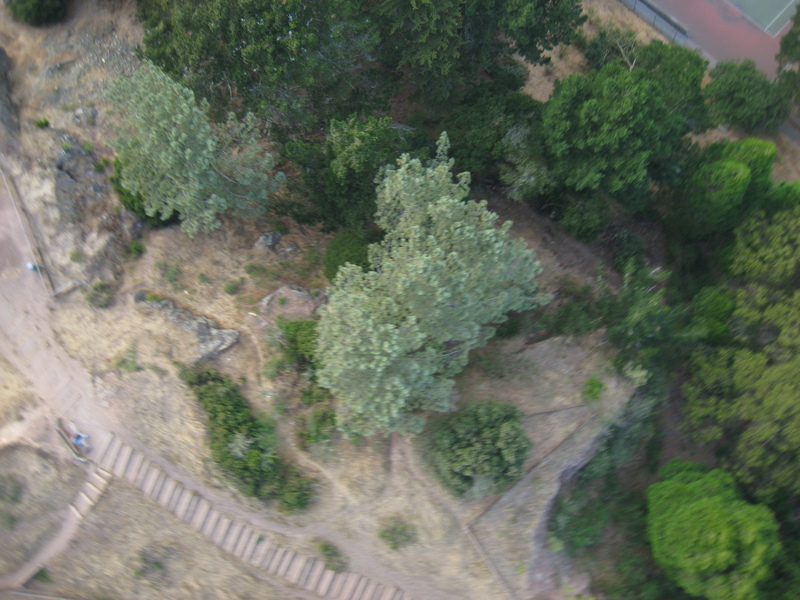
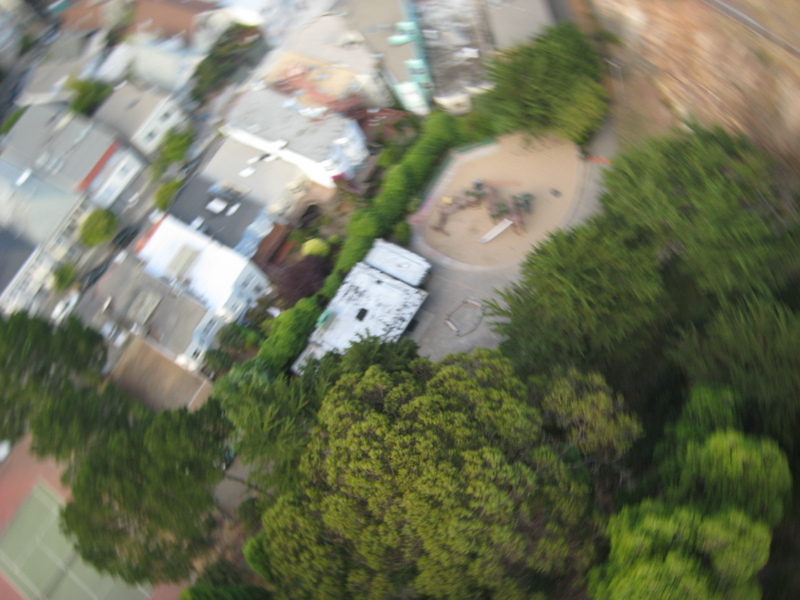
| From this altitude, those trees look like lichen! |
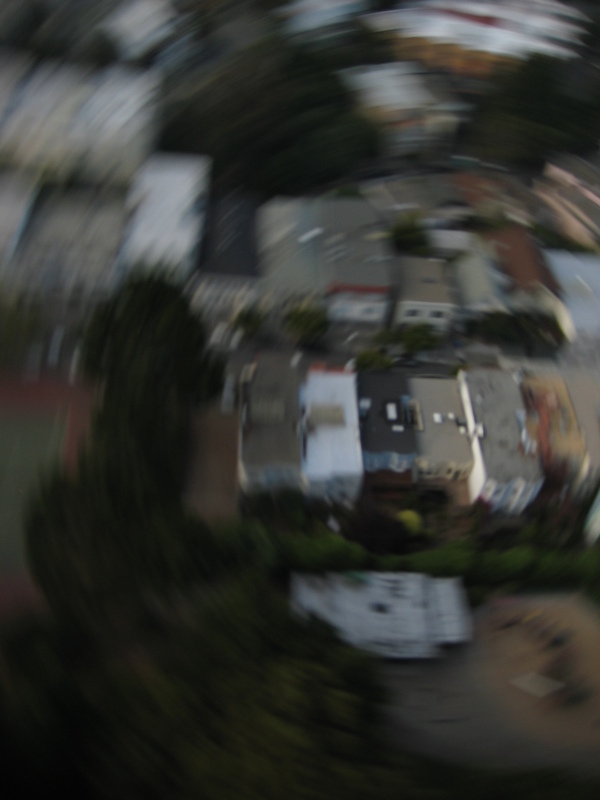
My favorite shot from the balloon on this flight: the houses are spinning! |
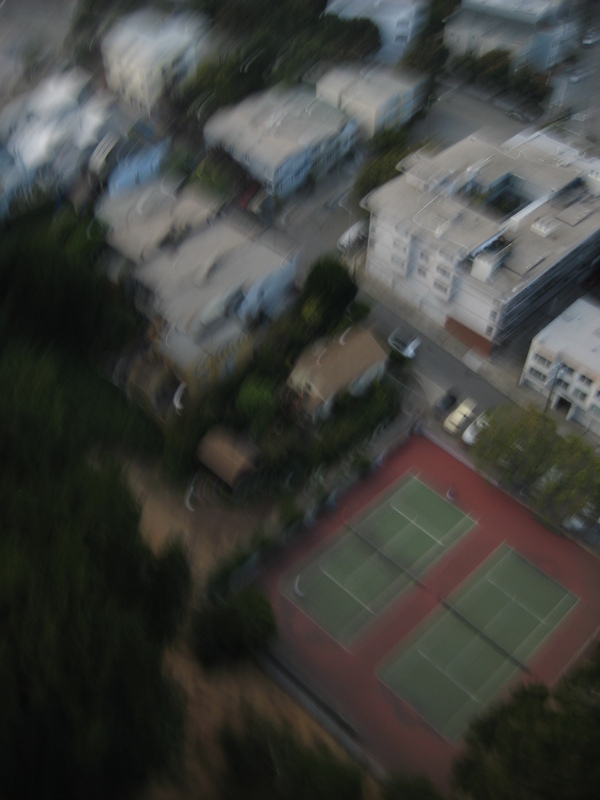
Nearby tennis courts. |
More surrounding houses and trees. |
|
|
|
|
|
| Joe doing the hard work of pulling the camera back in. In the crazy wind, this was incredibly hard. |
The balloon camera's view of Hoshi grabbing the balloon as it returns. |
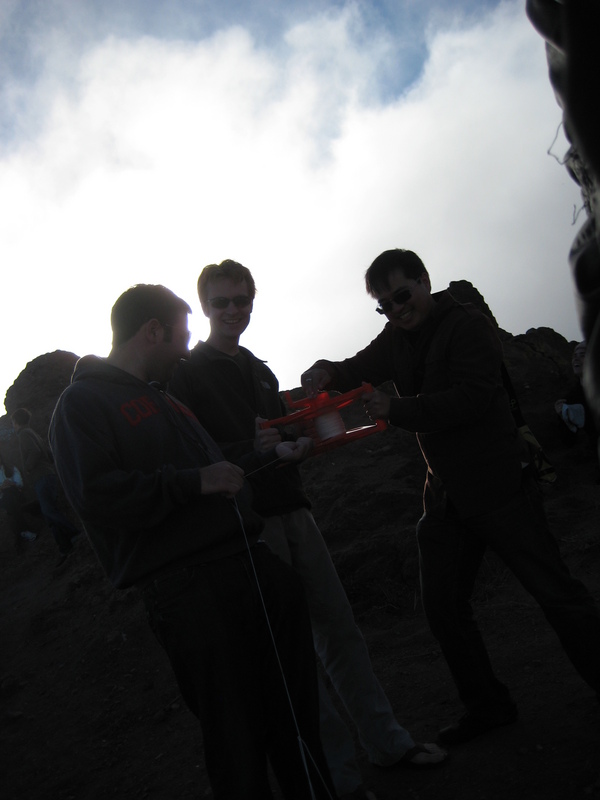
Me winding the reel as David feeds the cord and Mark helps steady. |
Mark with the reel. |
Lessons Learned
This balloon launch, and the
inaugural Dogpatch shipyards launch,
were the first two balloon launches we made (see my
balloon photography page for background on the setup).
On these first launches, we made some mistakes, and learned a lot. Here
are some lessons we learned:
- Balloon: a brightly colored balloon would be more fun as well
as easier to track in the sky.
- Equipment: bring gloves to prevent string burn, a cloth tape
measure to measure the circumference of the balloon, and binoculars
to get a better view of the balloon in the air.
- Camera: a wider angle lens would be a lot better. Investigate
activating sports mode, fixing focus at infinity, and perhaps fixing
the camera to a fast shutter speed/low ISO.
- Weight: the gondola was probably a little too light. Consider
adding a little weight to enhance stability in high winds.
- Picavet placement: in high wind, attaching the picavet to the
line only (farther from the balloon) would make tangling less likely
and increase camera stability.
- Shooting frequency: five seconds was too slow. We should shoot
an image every 2-3 seconds.
- Line: we should have brought more line; we could easily have gone
more than 1,000 feet in calm conditions. Slightly stronger line
would have made us less nervous in high winds.
- Knots: whatever knot I originally used to loop the line onto the
balloon was terrible! A hangman's noose worked nicely in the end.
- Some of the neatest shots are of the launch party looking up from
the ground. It would be good to pause the balloon as it is going up to
let it take some low birds-eye view shots.
- On the first flight up, the camera took RAW images (apparently,
CHDK defaults to shooting RAW on timer based shots), which filled up
the 4GB SDHC card right as the balloon came down. I had to disable
RAW timer shots in a CHDK submenu.
- It would have been really nice to have a motor (for example, a
drill) to operate the cord reel.
- Include "please return to" instructions in the gondola in case
the balloon and/or gondola detach from the reel.
- An altimeter (for example, from a cheap digital watch) in the gondola
would let us know how high the balloon went.
Thanks to everybody who came for the first two balloon launches!
Hopefully we can do it again with greater photographic success in the
future!
Andrew Ho
(andrew@zeuscat.com)
|


